In this post, we will learn how to create a Maven-based Scala project using IntelliJ IDEA from scratch. Spark is an open-source unified general-purpose Big Data Processing Framework that is written in Scala programming language. Apache Spark is a multi-language data processing engine that supports SQL, Java, Python, R, and Scala languages. However, most of the developers prefer to use Scala because Spark is built in Scala. Also, it is easier to express complex logic with very less lines of code in Scala.
To create a Scala project, we can use any IDE that supports Scala programming. Certainly, one of the widely used IDE to develop, test and deploy the Scala language projects is IntelliJ IDEA. We can download and use the community edition of this IDE for free. To create a maven-based Scala project, we can follow these steps:
- Donwload and install IntelliJ IDEA CE
- Install Scala language plugin
- Create a new maven project using an archetype “scala-archetype-simple”
- Build and Run the project
1. Donwload and install IntelliJ IDEA CE
Firstly, we need to download and install an IDE that supports Scala programming. IntelliJ IDEA is one of the widely used IDE for Scala development. We can download and install the IntelliJ IDEA community edition for free. This IDE is available for macOS, Windows, and Linux operating systems. To download it, click here.

Once, the download is completed, we can follow the on-screen instructions to install it.
2. Install Scala language plugin
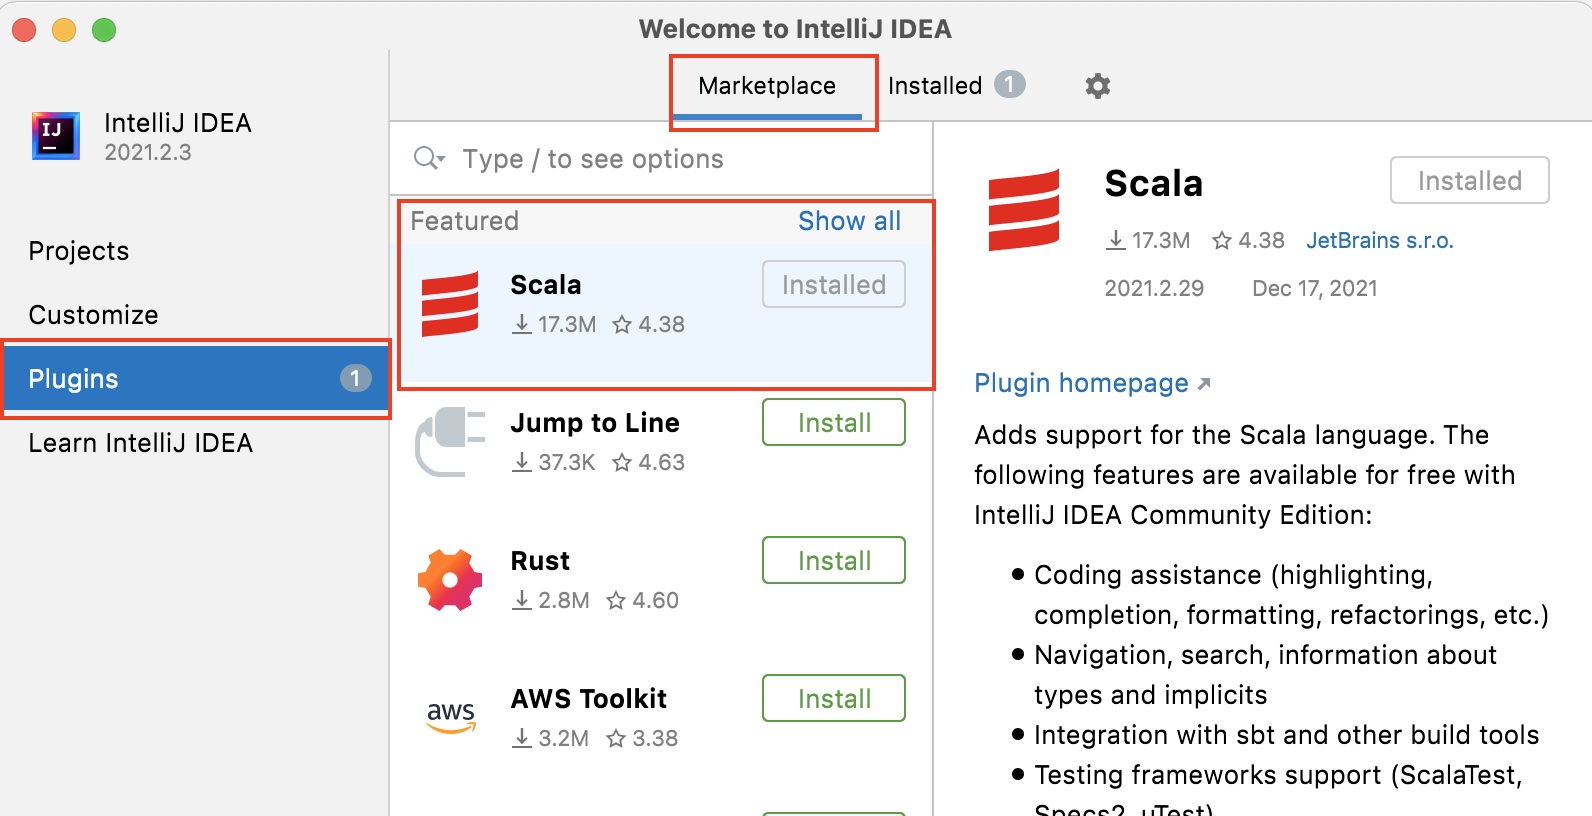
Secondly, we need to download and install the Scala language plugin to support the Scala project development in IntelliJ IDEA IDE. To do so, we can open the IDE and go to the plugin page. Then, locate the Scala plugin in the marketplace and click on the install button.
Once, the install is completed, we may need to restart the IDE. This plugin will enable Scala development in IntelliJ IDEA.
3. Create a new maven project using an archetype “scala-archetype-simple”
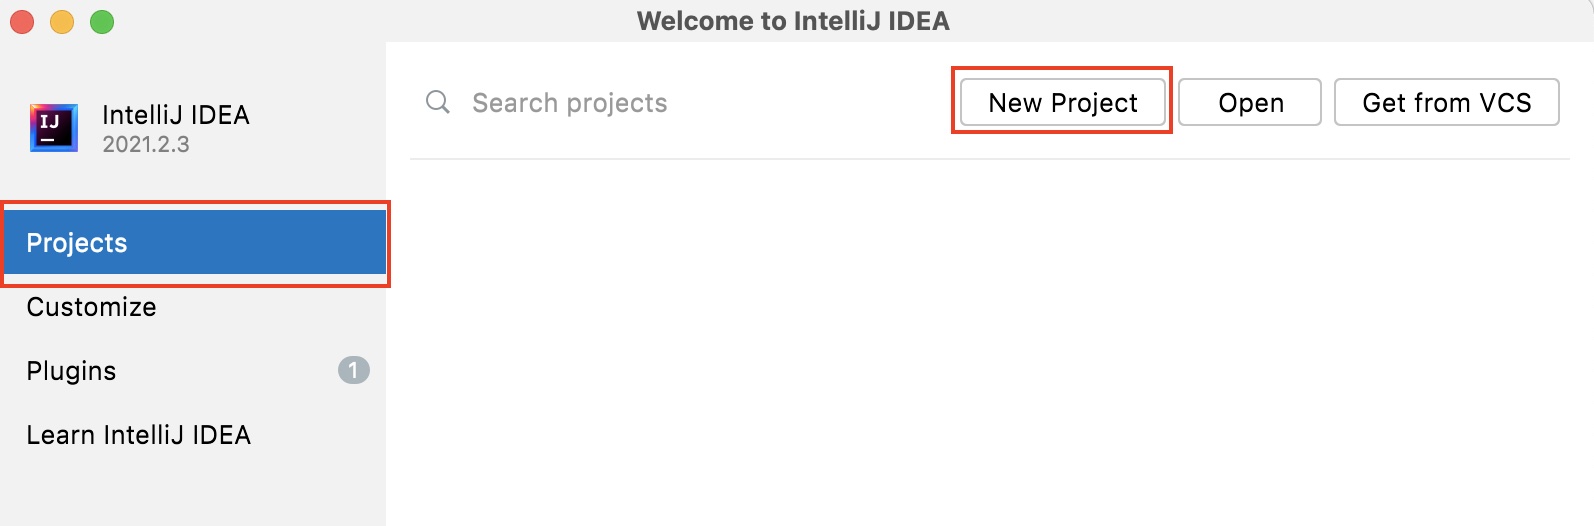
Thirdly, we need to open the IntelliJ IDEA application and choose the Projects option in the left tab. Then, we need to click on the “New Project” button on the right side.
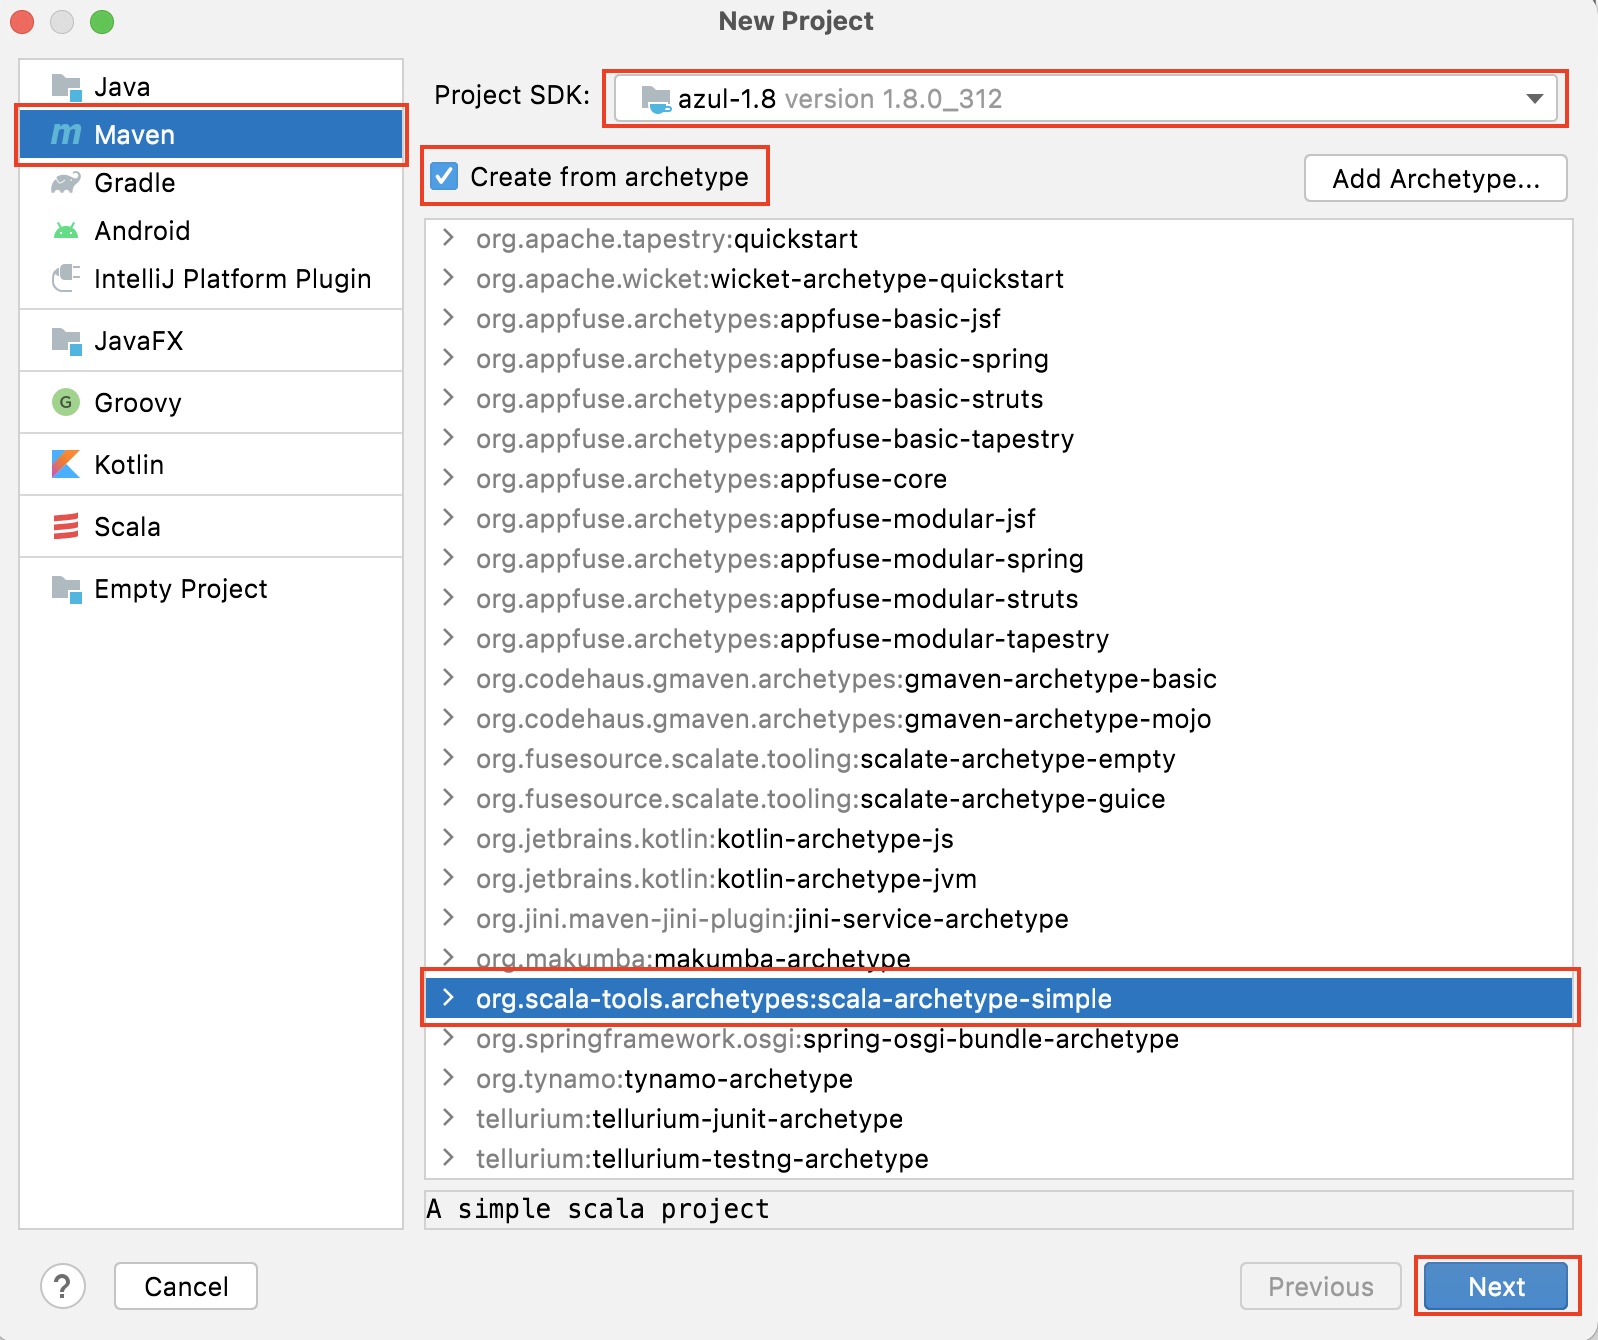
Then, choose Maven in the left tab and check the “Create from archetype” checkbox. From the archetype list, choose “org.scala.tools.archetypes:scala-archetype-simple“. Then, we need to choose a Java “Project SDK” at the top. Finally, click on the Next button at the bottom right corner.
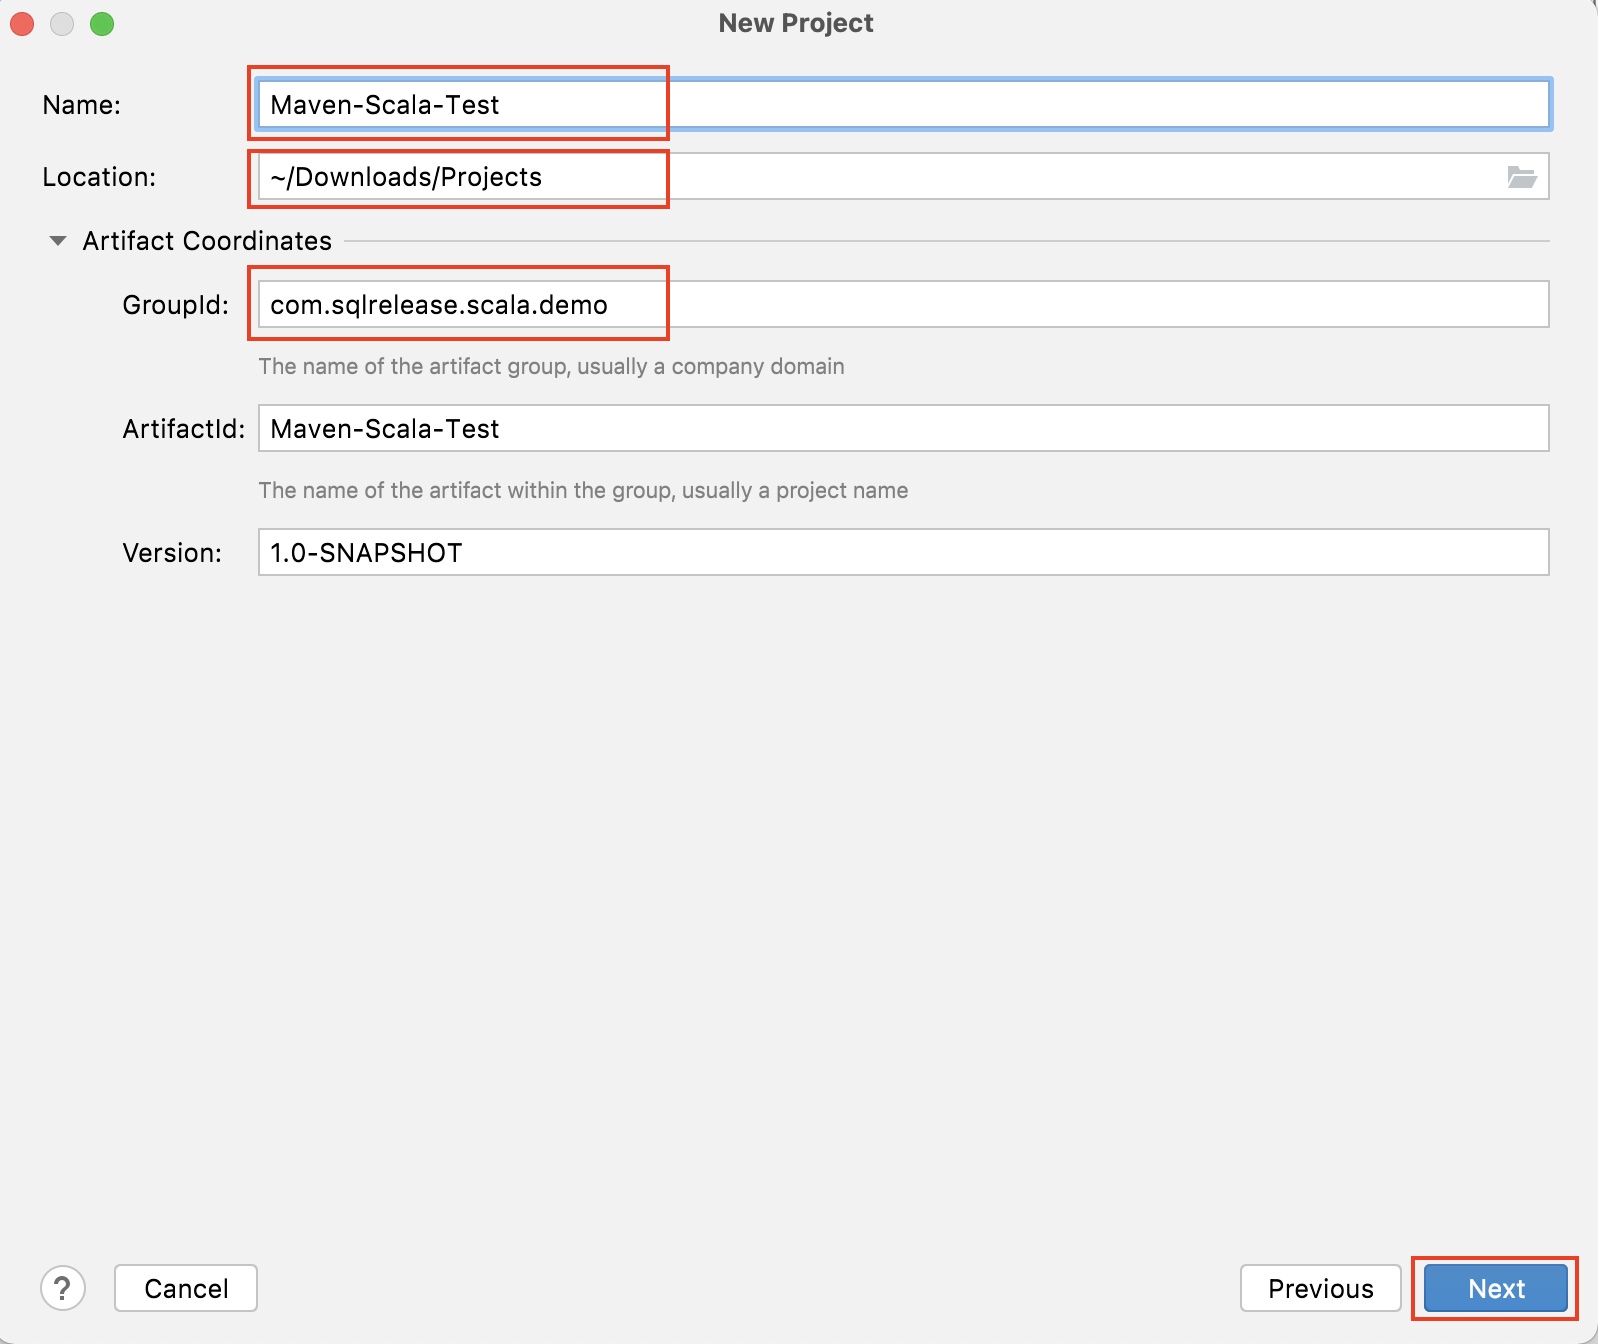
On the next screen, put a name for the project like “Maven-Scala-Test” and set the desired location for the storage of the project files. We can also define the Artifacts coordinates like GroupId (used to create the Scala packages). Then, click on the Next button.
This will bring the below screen. We can verify the settings and click on the Finish button to create a new Scala project. This will download the project structure for the scala archetype and set it up for development.

Now, we will get a Maven-based Scala project. The project structure looks as below. In order to build and run our project, we need to modify a few settings that we will discuss in the next section.

4. Build and Run the project
Finally, in order to build and run the project, we need to do these changes in this Scala project.
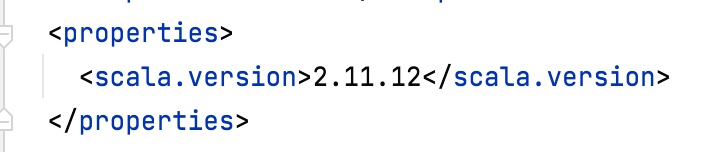
4.1 – Update pom.xml file
We need to open and update the pom.xml file for the Scala version. We need to use the Scala version that is available on our dev machine.
4.2 – Add the main method to the App object
Now, we need to modify the App.scala file to add a main method as below.
package com.sqlrelease.scala.demo

/**
 * Hello world!
 *
 */
object App {
  def main(args: Array[String]): Unit = {
    println("Hello World!")
  }
}
4.3 – Fix any build issue
In case you are facing issues related to the JUnit, used to create test modules, we can remove/comment the test module files that are AppTest.scala and MySpec.scala located in the test folder.
4.4 – Build and run the App.scala file
Now, we can click on the Build menu and select the Build Project option. Also, we can run the App.scala object by clicking on the Run menu and choosing the “Run ‘App’” option.
Thanks for the reading. Please share your inputs in the comment section.
